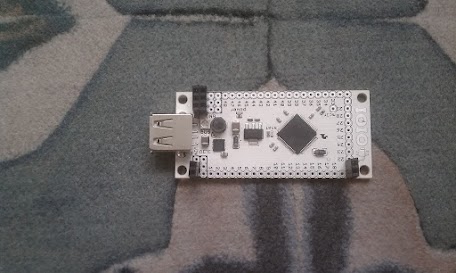
Connecting the IOIO
Now that my phone is sending video back to my laptop I am ready to start trying to send commands from my phone to the ioio board. Luckily the IOIO comes with a besic test app to make sure that your board is working correctly before you start your own experiments.
Here is the basic process:
1) Solder some headers to the pinouts you plan to use. I just need pinouts for the power, the 5V reference supply and 2 pins that can supply a 5V PWM signal. Not all of the IOIO pins can provide a 5V signal ( https://github.com/ytai/ioio/wiki/Digital-IO)
2) Find a DC power source between 5-15V. A 3 cell lipo that I had hanging around worked fine for me. I'm actually using the balance charging plug because those pins just happen to be the right size for my breadboard prototyping wires.
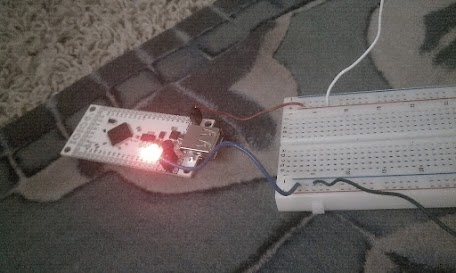
3) Connect the power source to your IOIO vin and GND headers and you should see the power light come on.
4) Download the softare package for your IOIO (https://github.com/ytai/ioio/wiki/Downloads)
5) Install the HelloIOIO.apk file onto your device and start the application.
6) With your IOIO powered, connect the USB cable to your phone.
7) Now you should be able to hit the on/off button and see the status light on your IOIO turn on and off.
SUCCESS!! Your phone is talking to hardware! Now it is time to start hacking some servo commands together so we can drive an RC car.


